오라클클라우드의 우분투 서버에서 xrdp를 설치해서 원격접속하기 /
작성자 정보
- 삼둡 작성
- 작성일
컨텐츠 정보
- 9,082 조회
- 2 댓글
- 목록
본문
/etc/ssh/sshd_config파일을 에디터로 불러서 아래 라인을 주석처리한다. Call the /etc/ssh/ sshd_config file as an editor to annotate the line below.
#PasswordAuthentication no
service sshd restart 를 입력해서 sshd를 재시작한다.
Restart SSHD by entering the Service SSHD RESTART.
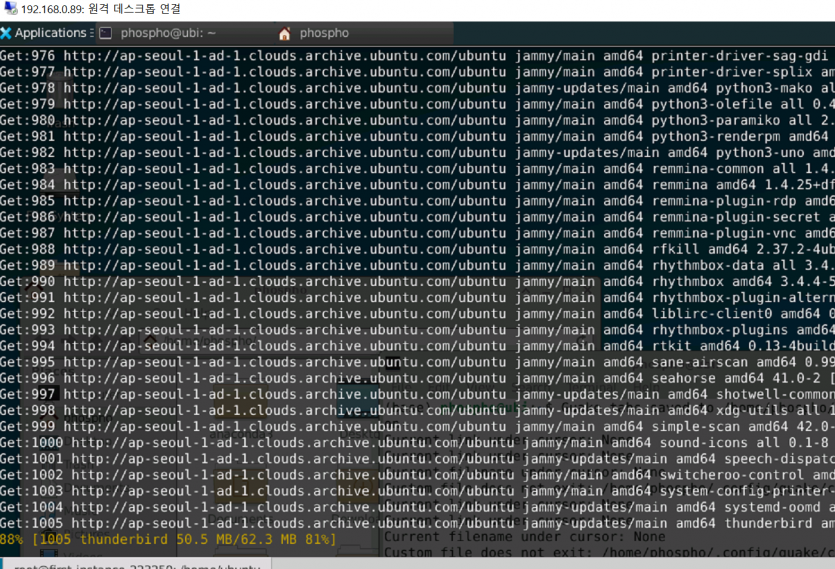
#apt install ubuntu-desktop -y
데스크탑부터 깔아본다.
약 2기가가 설치된다.
Let's install the desktop first.
About two gigabytes will be installed.
xfce를 이용하려면 apt install xubuntu-desktop으로 하면 된다.
GNOME이 조금 나을 것 같아서 GNOME을 설치하기로 한다.
To use xfce, you can use apt install xubuntu-desktop.
I think GNOME is a little better, so I decided to install GNOME.
Xrdp는 기본 우분투 리포지토리에 삽입되어 있다. 설치하려면 다음을 실행하십시오.
Xrdp is incuded in the default Ubuntu repositories. To install it, run:
apt install xrdp -y
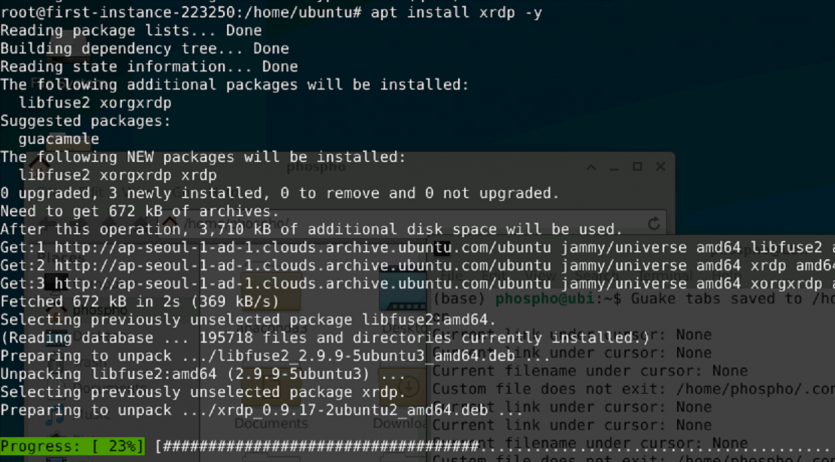
설치가 완료된 이후에 xrdp가 서버부팅 시에 시작되도록 다음과 같이 입력한다.
Once the installation is complete, the Xrdp service will automatically start. You can verify it by typing:
systemctl status xrdp
3389포트를 열어야하는데, 아마 서버에서도 열어야하고, 오라클 네트워크 관리자에서도 열어주어야 한다.
The 3389 port should be open, perhaps open on the server, and open to Oracle Network Manager.
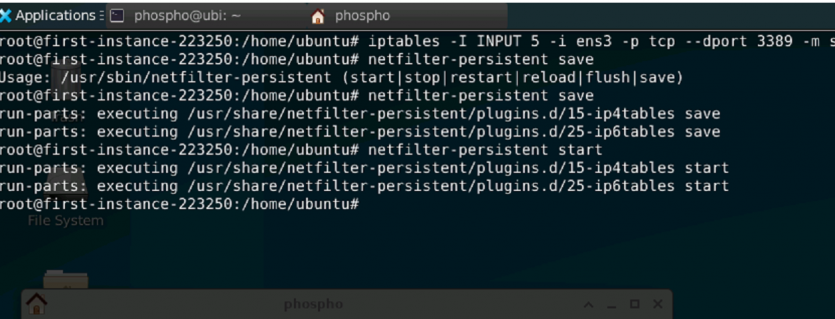
아래와 같이 입력해서 3389번 포트를 ens3이름의 이더넷을 통해서 열어준다.
그리고, 부팅시에도 적용되고 저장하고 다시 실행한다.
Enter the following to open port 3389 via Ethernet with the name ens3.
And it is applied to the boot time and it stores and it again practices.
#iptables -I INPUT 5 -i ens3 -p tcp --dport 3389 -m state --state NEW,ESTABLISHED -j ACCEPT
#netfilter-persistent save
#netfilter-persistent start
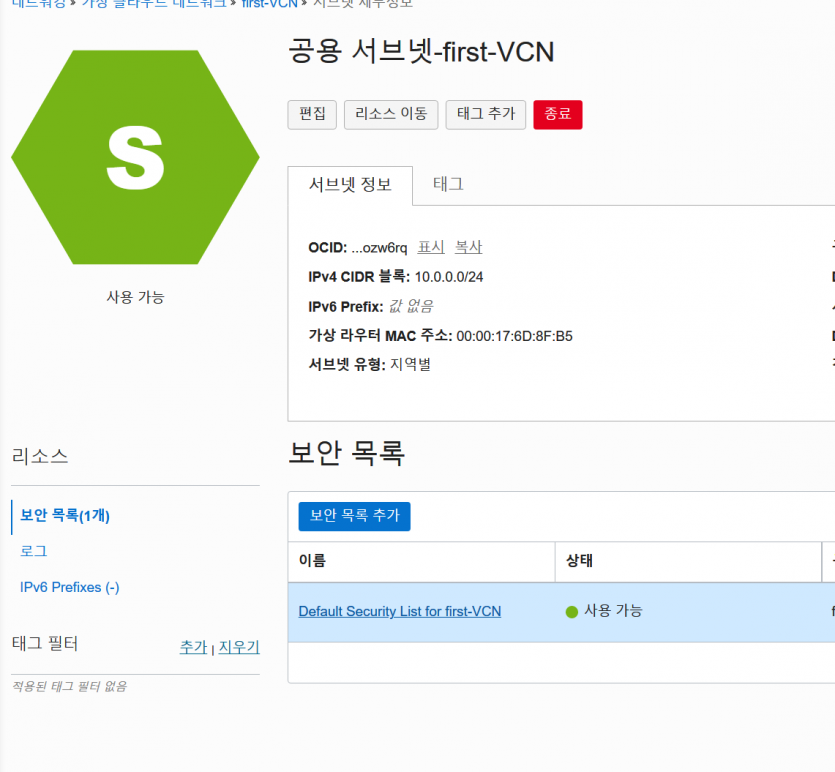
오라클클라우드에 로그인해서 해당 공용서브넷으로 들어간다.
Log into Oracle Cloud and enter the public subnet.
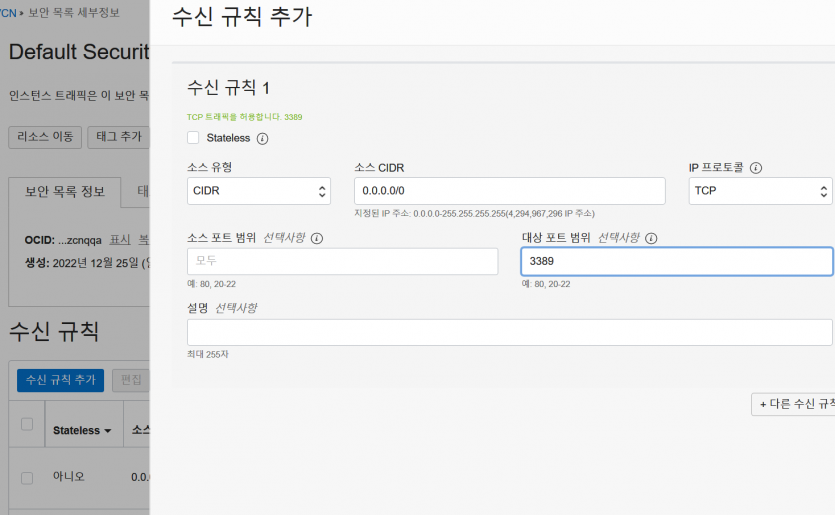
위와 같이 3389번 포트에 대한 수신규칙을 추가한다.
Add the reception rules for port 3389 as above.
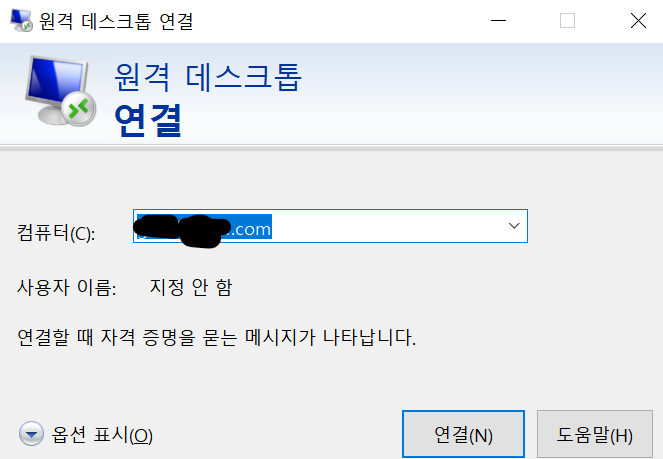
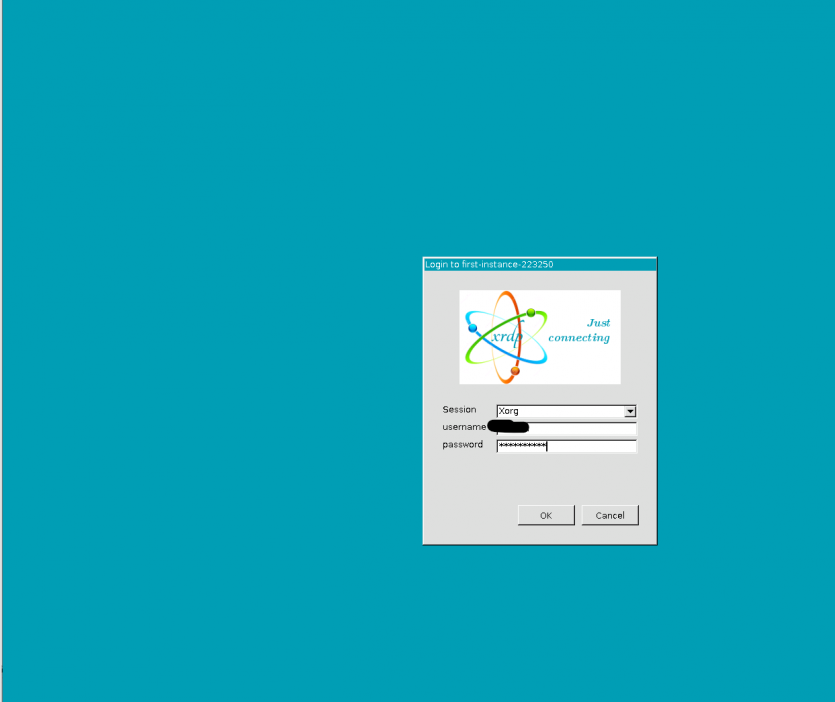
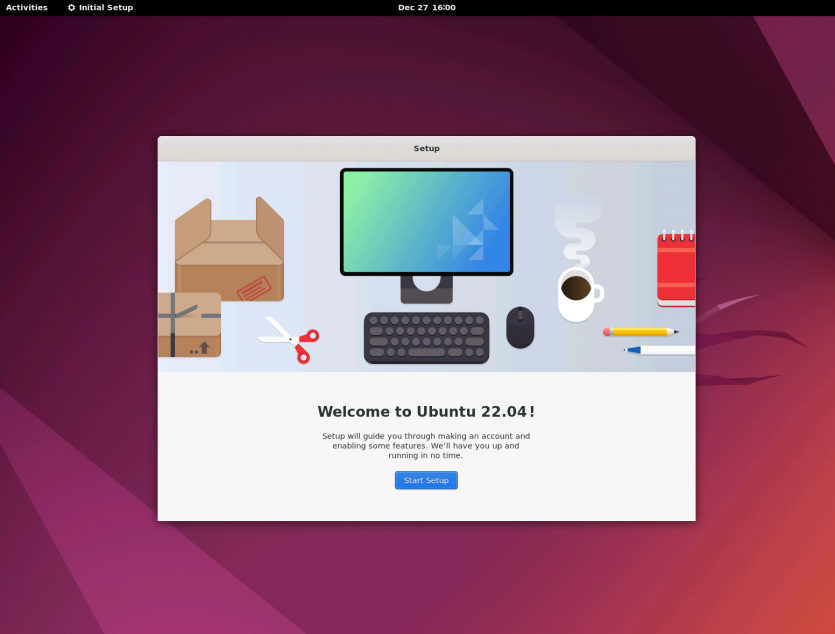
이제 윈도우에서 원격데스크톱연결로 접속하면 끝이다.
Now you can connect to the Remote Desktop connection from Windows.
관련자료
-
이전
-
다음
삼둡님의 댓글
- 삼둡
- 작성일
로그 파일을 보니(.xsession_errors) 아래와 같은 에러메시지가 있었다.
Could not make bus activated clients aware of XDG_CURRENT_DESKTOP=GNOME environment variable: Failed to execute child process ?dbus-launch? (No such file or directory)
그래서 dbus관련 모듈을 추가설치했더니 정상 작동되었다.
apt install dbus-x11
It was connected a few times, and the high screen screen did not proceed.
Looking at the log file, there was an error message as shown below (.xsession_errors).
COULD NOT MAKE BUS ACTIVATED AWARE OF XDG_CURENT_DESKTOP = GNOME Environment Variable: Failed to Execute Child Process? DBUS-LAUNCH? (No Such File or Directory)
So I installed an additional DBUS -related module and it worked normal.
APT Install dbus-x11
삼둡님의 댓글
- 삼둡
- 작성일
이것도 안되어서 다음을 추가했다.
This didn't work either, so I added:
$ sudo vi /etc/php/8.1/apache2/php.ini
short_open_tag = On
이 부분 수정 Modify this part
한번에 안될때도 있네, 설정이 설치할때마다 매번 다릅니다


