fail2ban 설치 및 적용하기 / Fail2ban installation and application
작성자 정보
- 삼둡 작성
- 작성일
컨텐츠 정보
- 5,455 조회
- 목록
본문

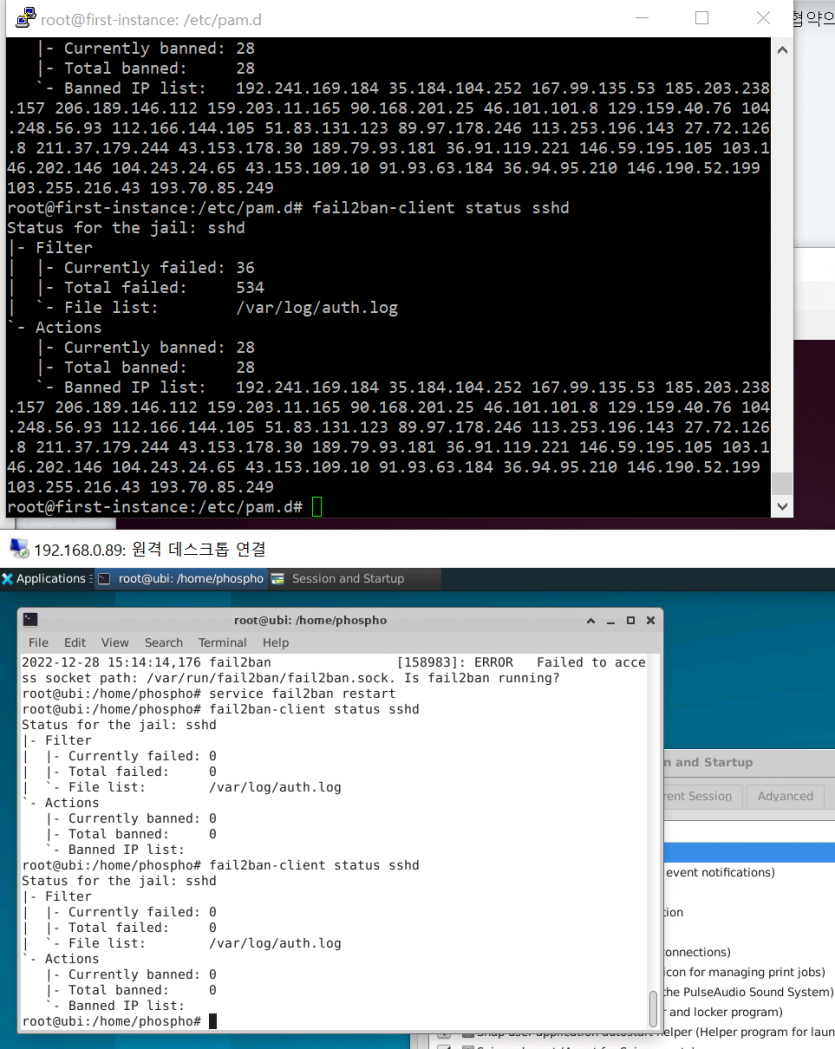
fail2ban을 양쪽 서버에 설치한 모습이다.
위의 오라클클라우드 서버는 서버를 만든지 두어시간만에 , fail2ban을 설치한지 5분 이내에 저렇게 많은 ip가 차단되었다.
Fail2ban is installed on both servers.
The above Oracle Cloud server blocked so many ips within five minutes of installing fail2ban in a couple of hours after creating the server.
#apt-get install fail2ban
apt로 가볍게 설치
Install lightly with apt
# vim /etc/fail2ban/jail.local 로 다음 파일을 작성한다.
# vim /etc/fail2ban/jail.local to create the following files:
[DEFAULT]
## 차단하지 않을 IP IP not to block
ignoreip = 127.0.0.1/8 192.168.10.0/24
# 접속을 차단할 시간. 600 = 10분 Time to block access. 600 = 10 minutes
bantime = 10800
# 최대 허용 횟수 maximum permissible number
maxretry = 10
#아래 시간동안 maxretry횟수만큼 실패시 차단 Blocked out of failure as many times as maxretry in the following hour
findtime = 86400
# (선택) 메일 알림기능 (Optional) mail notification function
destemail = sysadmin@example.com
sender = fail2ban@my-server.com
mta = sendmail
action = %(action_mwl)s
[sshd]
enabled = true
#여러 포트를 사용할 경우 port = ssh,10022
port = 22
filter = sshd
logpath = /var/log/auth.log
service fail2ban restart
서비스를 다시 시작한다.
# systemctl enable fail2ban
부팅할때 시작되게 한다.

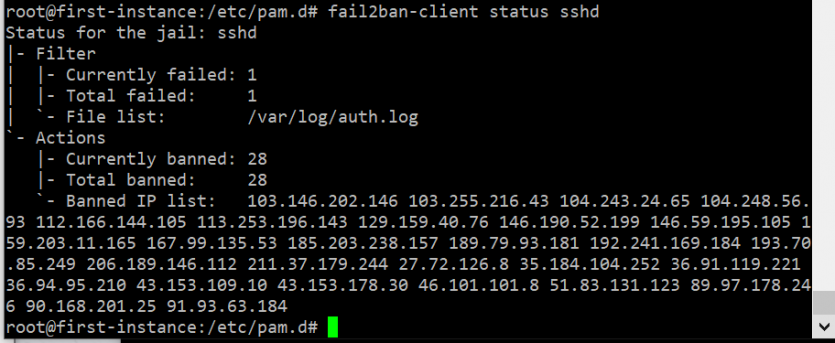
감시를 잘 하는지 살펴본다.

관련자료
-
이전
-
다음
