오라클클라우드 smtp메일서버를 이용해서 postfix 메일 보내기 / Send postfix mail using Oracle Cloud smtp mail server
작성자 정보
- 삼둡 작성
- 작성일
컨텐츠 정보
- 7,267 조회
- 목록
본문

# apt install libsasl2-modules mailutils
메일과 관련한 패키지를 위와 같이 설치한다.
The package related to the mail is established like the upper part.
# vi /etc/hostname
호스트 네임을 알맞게 수정한다.
Modify the host name appropriately.
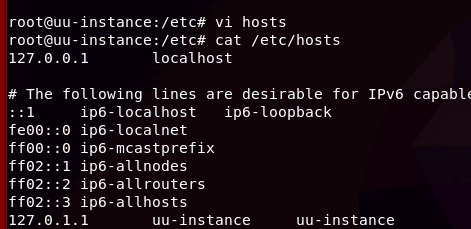
vi /etc/hosts를 실행해서
127.0.0.1 (혹은 1.1)라인 아래에 자신의 호스트명을 추가한다.
Run vi/etc/hosts
Add your own hostname under line 127.0.0.1 (or 1.1).
# dpkg-reconfigure postfix
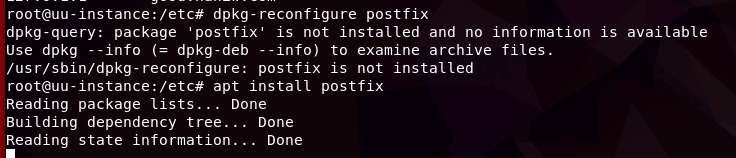
postfix 설정이 안뜨길래 실행해보니 설치가 되어있지 않아 설치한다.
The postfix setting doesn't work, so when I run it, it is not installed, so I install it.
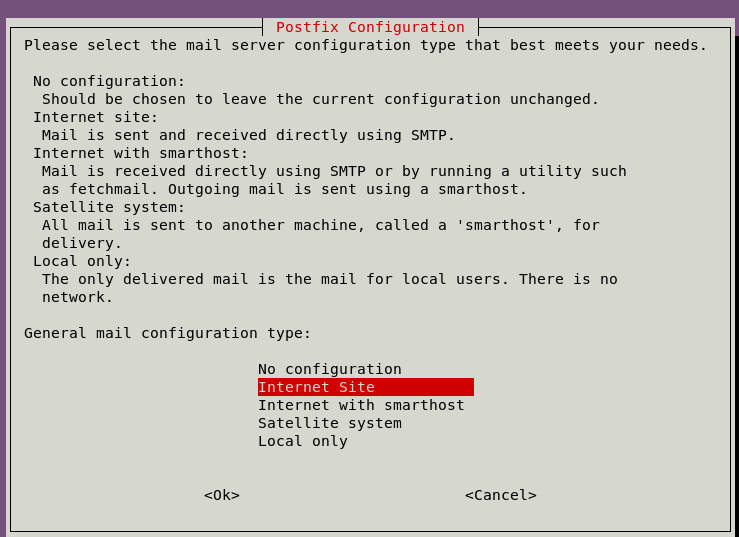
그랬더니 이 화면이 잘 나온다.
internet site를 선택하고
아래화면에 자신의 사이트 이름을 입력한다.
Then this screen comes out well.
Select the Internet site.
Enter your own site name on the bottom screen.

# vi /etc/postfix/main.cf
postfix는 설치 및 설정하였고, smtp relay에 gmail을 사용하도록 설정하기로 한다.
PostFix is installed and configured, and you decide to enable Gmail for SMTP Relay.
relayhost = [smtp.gmail.com] : 587 #relayhost를 찾아서 우측과 같이 입력한다. Find the relayhost and enter it as shown on the right.
해당 파일 가장 아래에 다음을 추가하여, smtp 보안인증을 활성화한다.
At the bottom of the file, add the following to enable SMTP security authentication.
# Enables SASL authentication for postfix
smtp_sasl_auth_enable = yes
# Disallow methods that allow anonymous authentication
smtp_sasl_security_options = noanonymous
# Location of sasl_passwd we saved
smtp_sasl_password_maps = hash:/etc/postfix/sasl/sasl_passwd
# Enable STARTTLS encryption for SMTP
smtp_tls_security_level = encrypt
# Location of CA certificates for TLS
smtp_tls_CAfile = /etc/ssl/certs/ca-certificates.crt
mydestination = localhost.mydomain,com, localhost #mydestination값을 아래와 같이 수정한다. The mydestination value is corrected as follows.
다음과 같이 편집기를 열어서, smtp연결을 인증할 파일을 만들어준다.
Open the editor as follows and create a file to authenticate the SMTP connection.
vi /etc/postfix/sasl/sasl_passwd
[smtp.gmail.com]:587 이메일주소@gmail.com:비밀번호 #이 문장을 가장 상단에 넣고 저장한다.
[smtp.gmail.com]:587 Email address@gmail.com:Password #Put this sentence at the top and save it.
# postmap /etc/postfix/sasl/sasl_passwd
postmap을 통해 데이터베이스 파일로 변환한다.
Convert to database file via postmap.
chown root:root /etc/postfix/sasl/sasl_passwd
chmod 600 /etc/postfix/sasl/sasl_passwd
Root 사용자의 접근권한과 '읽기/쓰기' 를 제한하기 위해 passwd 파일의 보안 및 소유권을 변경한다.
Change the security and ownership of the passwd file to limit Root users' access rights and 'read / write'.
#sudo service postfix restart
서비스를 다시 시작한다.
Restart service.

위에 처럼 잘 되어야 하는데
나는 아래처럼 2단계 인증을 사용하기 때문에 이 postfix를 이용해서 메일보내기를 할수 없다.
It should work as well as above.
I can't send emails using this postfix because I use two-step verification like the one below.

[Ubuntu] Ubuntu에 Postfix 설치, Gmail SMTP 설정, 메일 보내기 (tistory.com)
우분투 20.04에서 구글 SMTP메일서버를 활용한 postfix 메일 보내기 > 작업실 | 우성짱의 NAS (wsgvet.com)
이 두 블로그를 참고해서 서버 설정을 하였습니다.
관련자료
-
이전
-
다음


